
Billing (your own invoices)
Billing is where coaches and staff send the gym an invoice. Pick the classes you taught and the invoice builds itself, or use a generic invoice for expenses, seminars and other one-off work.
Who can use it: coaches, staff with the invoice role, and admins.
Open it from the menu: Finance → Billing.
Add your bank details first
Section titled “Add your bank details first”You need valid bank details before you can send an invoice. If you haven’t added them, a message says “No bank details found. Please enter your bank details.” and the Bank Details form opens.
- Click Bank Details.
- Fill in your First Name, Last Name, Email, Address Line 1, City, Country, Bank Name, Account Number and Sort Code. Address Line 2 and Post Code are optional.
- If the gym pays you under a different name (a nickname, initials or a company), add it to Name on bank transfers (optional). Separate several names with commas. Not every gym shows this field.
- Click Update. You’ll see “Details updated!”.
Checks on the form:
- Account Number must contain only numbers.
- Sort Code must look like 12-34-56.
- Email must be a valid email address.
You can change your details at any time with the same button.
Send an invoice for classes
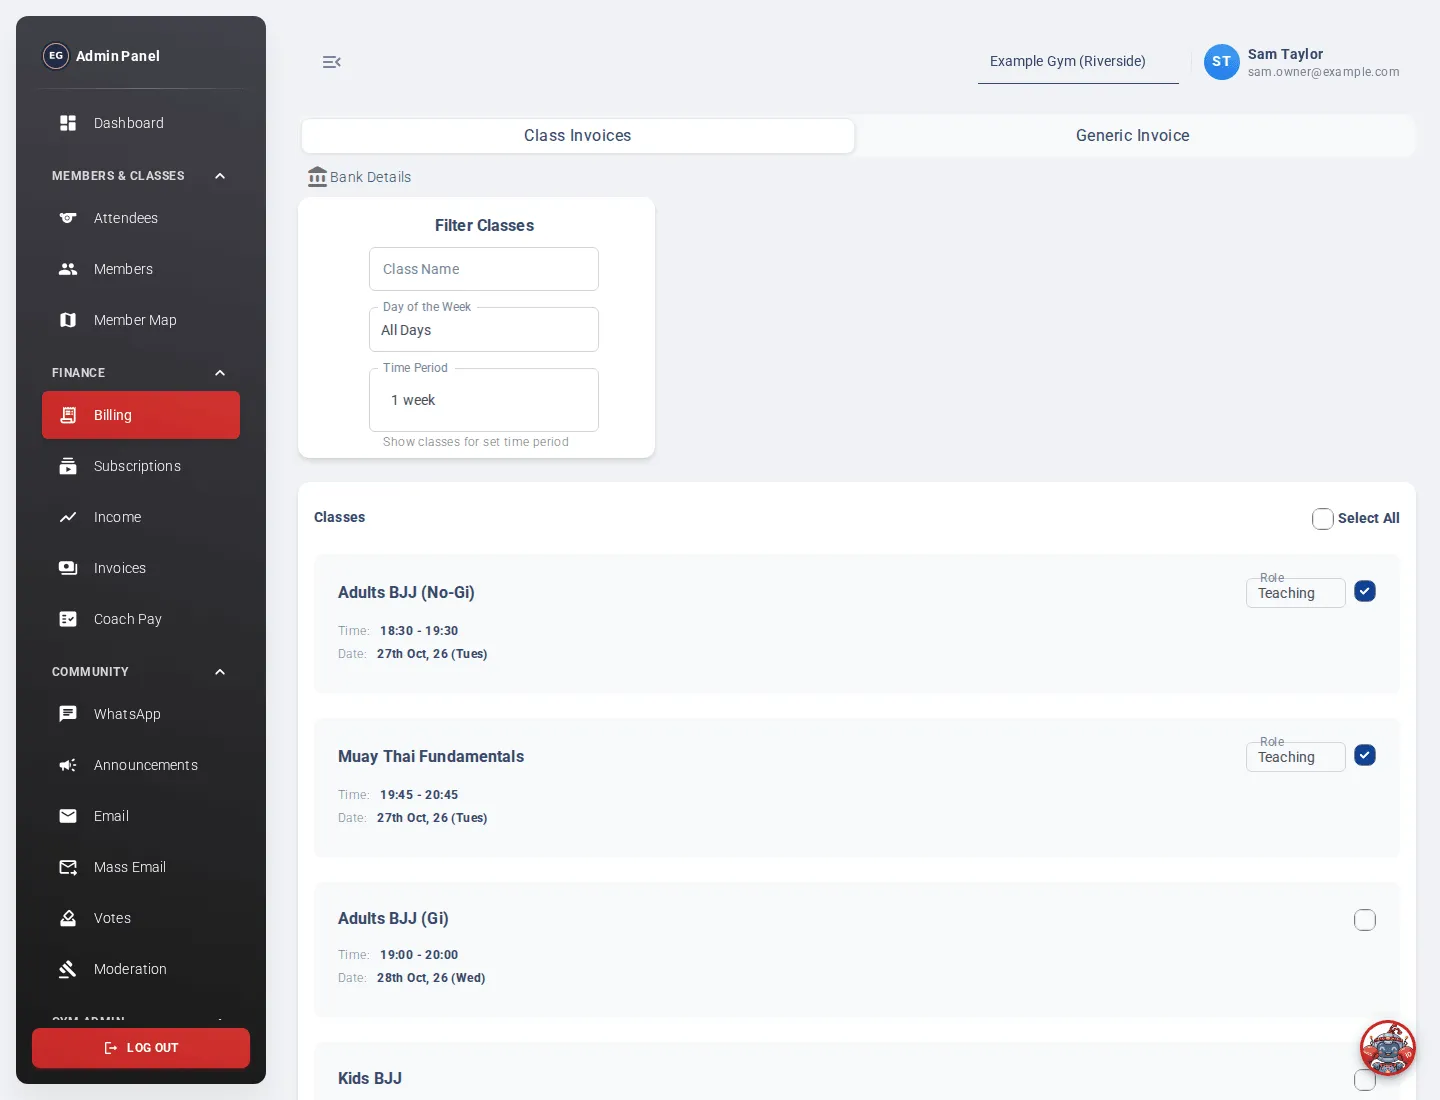
Section titled “Send an invoice for classes”- Open the Class Invoices tab.
- Use Filter Classes to find your classes:
- Class Name: type part of the name.
- Day of the Week: one day, or All Days.
- Time Period: Today, 1 week, 2 weeks, 1 month or 3 months, back from today.
- Tick each class you worked. Select All ticks every class in the list.
- For each ticked class, choose your Role: Teaching (the default), Assistant or Reception. You can’t pick both Teaching and Assistant for the same class.
- Click Send Invoice. You’ll see “Invoices sent successfully”.
You don’t type any amounts. Your pay is worked out from the gym’s coach rates, by role and class length. The gym owner sets these in Gym Settings.
Send an invoice for expenses or other work
Section titled “Send an invoice for expenses or other work”- Open the Generic Invoice tab.
- Fill in the first line: Title, Description, Quantity and Unit Price (in £).
- Click Add Item for each extra line. Use the red bin icon to remove a line.
- Check the Total at the bottom.
- Click Send Invoice. It stays greyed out until every line has a title, a description, a quantity and a price above zero.
- You’ll see “Invoice sent successfully!”. Click New Invoice to start another.
What happens next
Section titled “What happens next”Your invoice goes to the gym’s finance team, who review it on the Invoices page. It starts as pending, then becomes completed once they pay it, or rejected if there’s a problem. Ask the gym owner if you have a question about an invoice.